


Welcome
/ is a site originally dedicated to Irish megaliths, but now expanded to include all sorts of antiquities that are of importance/interest. It now covers historic and prehistoric sites across Ireland, including Neolithic, Bronze Age, Early Christian and Medieval monuments.
My third book about Ireland's prehistoric heritage, Monu-Mental About Prehistoric Antrim, is now available and, like my first two books, Monu-Mental About Prehistoric Dublin and Monu-Mental About Prehistoric Waterford, is available in the shops or from this website - just click Shop at the top of the page.
I try and visit sites as often as I can, trying to get out twice a month, but failing lately due to work pressures. For quick access to the latest trips use the link on the menu bar. To browse all the sites I've visited over the last 9 years use the links on the left-hand side.
More ...Until we meet in the stones ... Ride On!!
Tom
My Latest Blog
Back On The Road After Far Too Long - Thursday, 9th May 2013 
There's a wonderful feeling I used to experience and for far too long took or granted. That feeling is the one of parking the car, walking to the back, putting on a pair of walking boots and getting excited about seeing something new! It's such a simple thing, but it's wonderful.
I had the chance to spend a few wet days in Armagh and decided I would try to take it easy, but visit some places again, and see some new monuments. When staying in Armagh you can't avoid going to Navan Fort and the King's Stables, even if you've been there before, so these were the main targets of the first day. The weather meant I had to do them in a weird order, starting at the King's Stables, visiting a couple of other sites and then coming back to Navan Fort.
I also had a look round Armagh Museum, too. It's small, but does have some nice items on show. Apart from the Mesolithic and Neolithic artefacts, there is one of the skulls found in the King's Stables. The a lot of the displays are natural history and some very fine costumes. It's worth a visit if you have an hour or so.
Latest Tweets
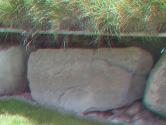
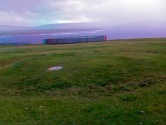
Latest Images
Click A Thumbnail to View Full Size Image. Click The Site Name To See All Added Images For That Site

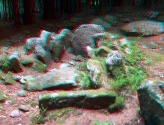
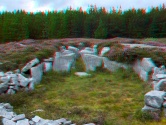
Latest 3D Images
Click A Thumbnail to View Full Size Image. Click The Site Name To See All Added Images For That Site


Latest 3D Animated Images
Click Thumbnail to View Full Size Image


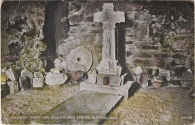
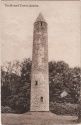
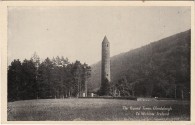
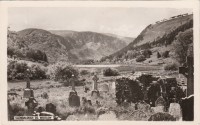
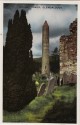
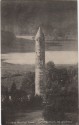
Latest Old Images
Click A Thumbnail to View Full Size Image. Click The Site Name To See All Added Images For That Site
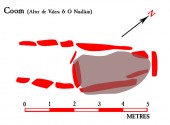
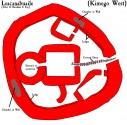
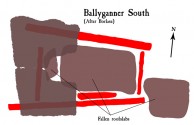
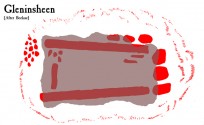
Latest Plans
Click A Thumbnail to View Full Size Image. Click The Site Name To See All Added Images For That Site


Page loaded from cache: (Generation time: April 20 2020 23:59:51.)